Upload files via form
Description
This example shows how to build a simple web app that lets users upload files and send them via email as attachments.
The example illustrates how to use session-scoped file repositories to temporarily store and retrieve files for the duration of a single browser session.
Overview of the solution
- The app consists of two HTML pages that are configured as templates: a web form on which the user can fill in subject and message, and upload files, and the thank-you page.
- The app is served by a single service with a GET template for the form and a POST template for the thank-you page.
- Files are stored in a session-scoped file repository, so each visitor has their own isolated set of uploaded files that disappear when the session ends.
- Files are uploaded as soon as the user picks them, via a small piece of JavaScript in the form.
- When the form is initially loaded, a package runs to enable session upload and pass the upload URL to the form.
- When the form is submitted, a package reads every file out of the session repository, attaches them all to an email and sends it.
- We use the Pico CSS framework to give the form a clean look without having to write any CSS ourselves.
Account setup
Start by creating the file repository. Go to the Accounts tab and add a new account with the following fields:
- Name:
upload-files-storage - Account type:
File repository - Repository type:
Session-scoped temporary storage
The account form shows the URL where files can be uploaded, which looks something like this:
https://<host>/filerepository/<your-profile>/<your-environment>/upload-files-storage
We also need to configure outbound email so that the app can send emails. Go to the Outbound email configuration tab and add a new configuration with the following fields:
- Name:
upload-files-outbound-email - Mail server:
Built-in mail server - Enabled: checked
Leave the rest of the fields blank. You can use the Verify button to send a test email to yourself and verify that everything is working.
A session-scoped repository is different from a permanent one in two important ways:
- Files in it only exist for the duration of one browser session. There is no need to clean them up — they are gone as soon as the session expires.
- Uploads are only accepted after a package called
file_enable_session_upload()in the same session. Without this call, attempts to POST a file to the upload URL are rejected
Implementation
Form template
First, we will build the HTML form. Go to the Templates tab and add a new template with these fields:
- Name:
upload-files-form - Render mode:
Curly braces {{ ... }} - HTML: checked
Paste the following into the HTML field:
<!doctype html>
<html lang="en" data-theme="light">
<head>
<meta charset="UTF-8">
<meta name="viewport" content="width=device-width, initial-scale=1">
<title>Send an email with attachments</title>
<link rel="stylesheet" href="https://cdn.jsdelivr.net/npm/@picocss/pico@2/css/pico.min.css">
<style>
:root { --pico-font-size: 87.5%; }
main { max-width: 540px; margin: auto; padding: 2rem 1rem; }
ul.uploaded { list-style: none; padding: 0; margin: 0.25rem 0 1rem; }
ul.uploaded li { font-size: 0.85rem; color: var(--pico-muted-color); }
</style>
</head>
<body>
<main>
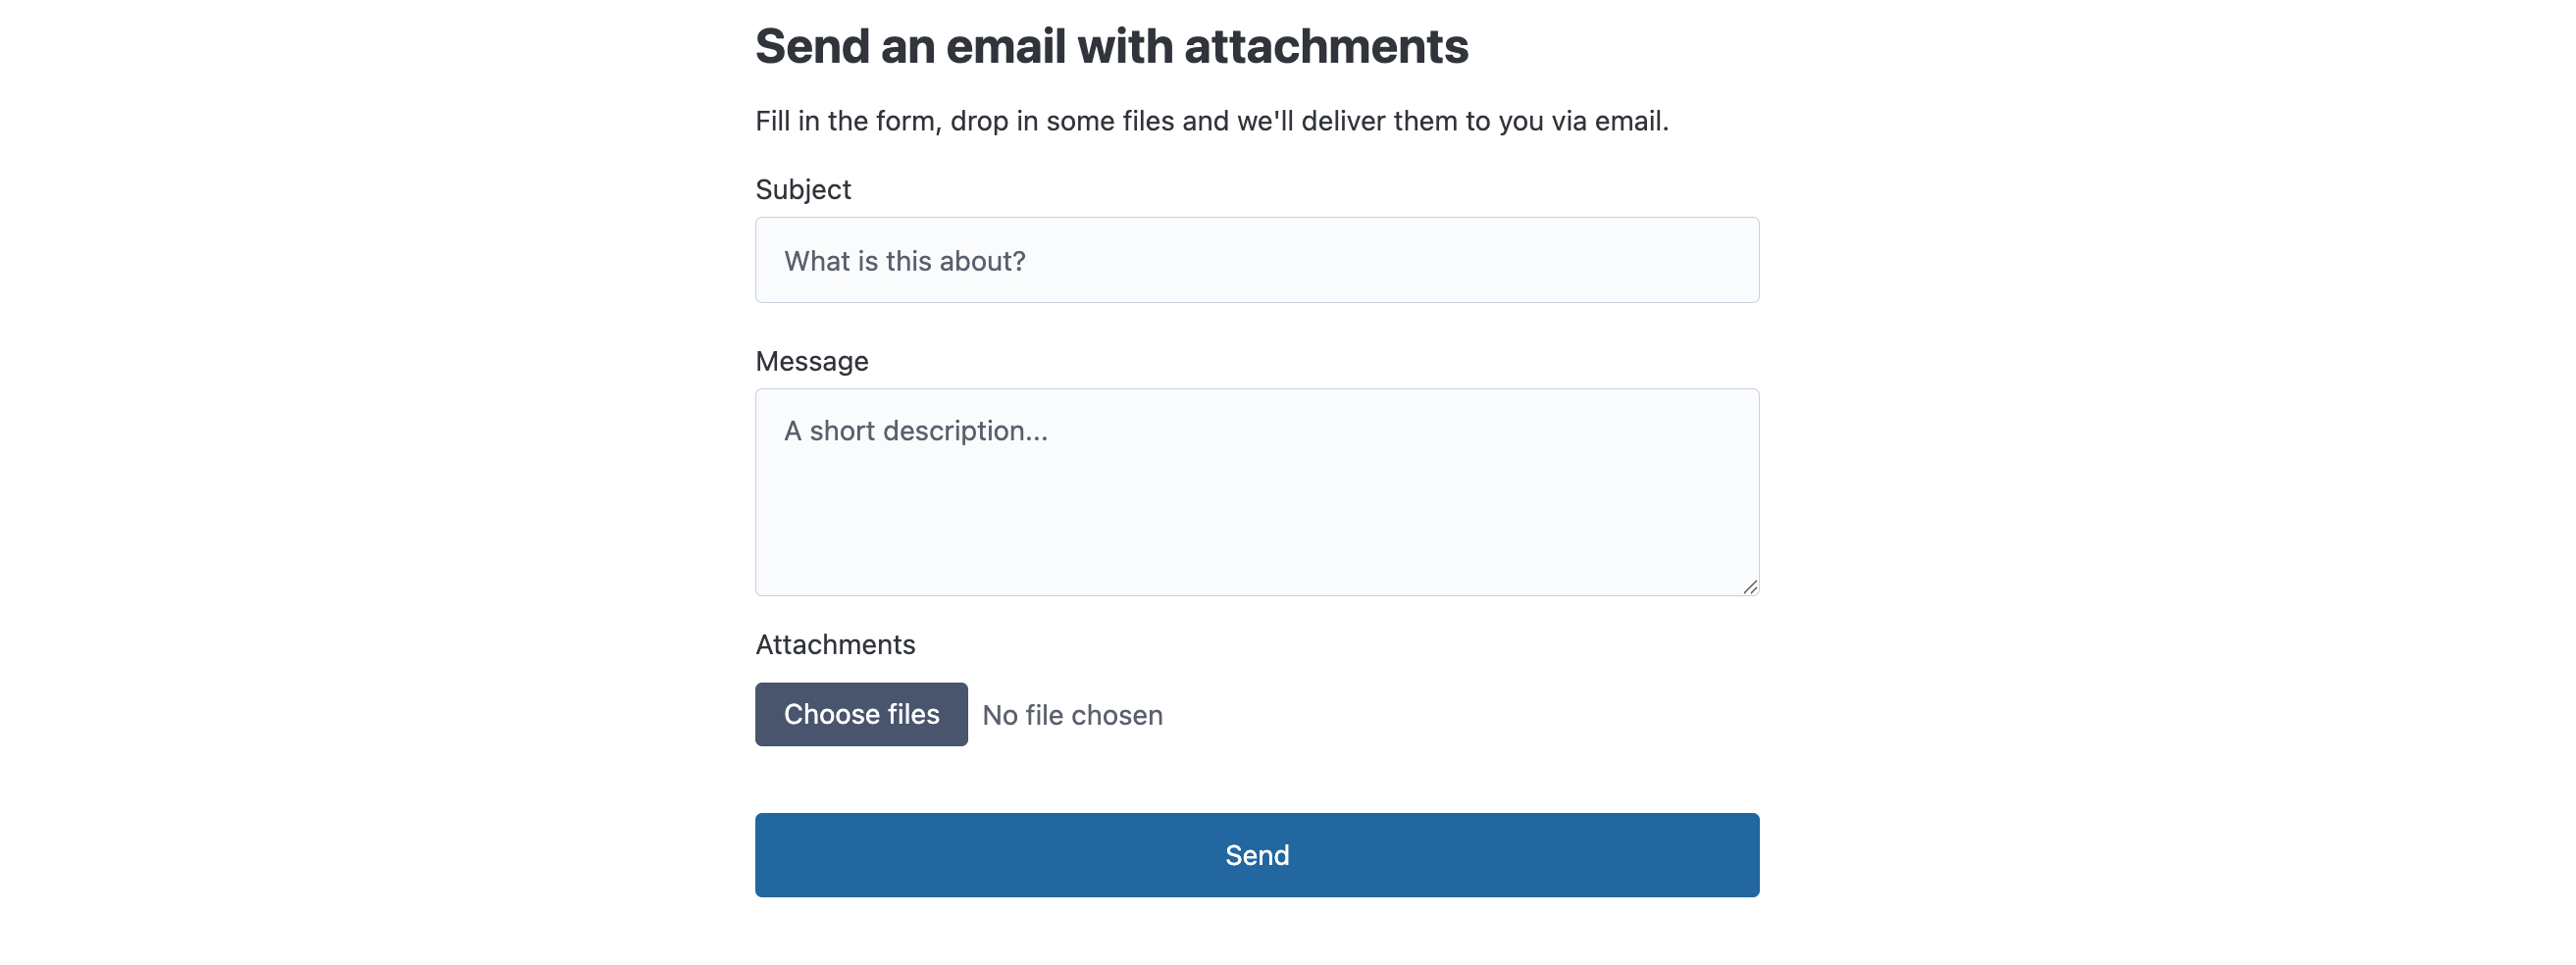
<h2>Send an email with attachments</h2>
<p>Fill in the form, drop in some files and we'll deliver them to you via email.</p>
<form id="send-files-form" method="post">
<label>
Subject
<input type="text" name="subject" placeholder="What is this about?" required>
</label>
<label>
Message
<textarea name="message" rows="4" placeholder="A short description..." required></textarea>
</label>
<label>
Attachments
<input type="file" id="files" multiple>
</label>
<ul id="uploaded" class="uploaded"></ul>
<button type="submit">Send</button>
</form>
</main>
<script>
const uploadUrl = "{{$uploadUrl}}";
const fileInput = document.getElementById("files");
const uploadedList = document.getElementById("uploaded");
fileInput.addEventListener("change", async () => {
for (const file of fileInput.files) {
const formData = new FormData();
formData.append("file", file);
const response = await fetch(uploadUrl, { method: "POST", body: formData });
const item = document.createElement("li");
item.textContent = response.ok
? `✓ ${file.name}`
: `✗ ${file.name} (upload failed)`;
uploadedList.appendChild(item);
}
fileInput.value = "";
});
</script>
</body>
</html>
Two things are worth pointing out:
- The form's
method="post"and the absence of anactionattribute mean that pressing Send posts the message fields back to the same URL the form was loaded from. In other words, the same service will handle both the GET and POST requests. - The
<script>block intercepts file selection and uploads each picked file to$uploadUrlbefore the form is submitted. The$uploadUrlvariable is provided by a package, that we will create in a moment.
Thank-you template
Add a second template with:
- Name:
upload-files-thank-you - Render mode:
Curly braces {{ ... }} - HTML: checked
<!doctype html>
<html lang="en" data-theme="light">
<head>
  <meta charset="UTF-8">
  <meta name="viewport" content="width=device-width, initial-scale=1">
  <title>Thank you</title>
  <link rel="stylesheet" href="https://cdn.jsdelivr.net/npm/@picocss/pico@2/css/pico.min.css">
  <style>
    :root { --pico-font-size: 87.5%; }
    main { max-width: 540px; margin: auto; padding: 2rem 1rem; }
  </style>
</head>
<body>
  <main>
    <h2>Thank you!</h2>
    <p>
      We've sent your message and {{$fileCount}} attachment(s) to <strong>{{$sentTo}}</strong>.
    </p>
    <p><a href="./send-files">Send another</a></p>
  </main>
</body>
</html>
The $fileCount and $sentTo variables are provided by the POST package that we'll create soon.
GET package
Next is the package that runs when someone opens the form.
Go to the Packages tab, add a package called upload-files-GET and add the following script:
file_enable_session_upload();
const $uploadUrl = "/filerepository/<your-profile>/<your-environment>/upload-files-storage";
Replace the upload URL value with the one that was shown when you created the file repository account,
starting with /filerepository/.
When this package runs, it does two things:
file_enable_session_upload()marks the current session as authorized to upload files into any session-scoped file repository. Without this call, the file repository controller rejects POSTs to the upload URL with HTTP 401.- The global variable
$uploadUrlis made available, so that theupload-files-formtemplate can use it.
POST package
This package runs when the user presses Send. Its job is to read every file the user uploaded, attach them to an email, send it, and disable session upload so the session can no longer be used.
Add another package called upload-files-POST and add the following script:
const email = "your-email@example.com"; // Replace with your own email address
const fileRepositoryAccount = "upload-files-storage";
const outboundEmailConfiguration = "upload-files-outbound-email";

const { subject, message } = source.body ?? {};

const filenames = file_list(fileRepositoryAccount);
const attachments = filenames.map(filename => ({
  filename: filename,
  content: file_read(fileRepositoryAccount, filename),
}));

sendMail({
  to: email,
  subject: subject,
  body: { text: message },
  attachments: attachments,
  profile: outboundEmailConfiguration,
});

file_disable_session_upload();
filenames.forEach(filename => file_remove(fileRepositoryAccount, filename));

const $sentTo = email;
const $fileCount = filenames.length;
Let's walk through what happens:
- We first declare a few settings: the email address to send to (replace this with your own email address), the name of the file repository account and the name of the outbound email configuration.
source.bodycontains the parsed form fields. We extractsubjectandmessagefrom it.file_listreturns the names of all files the user uploaded into theupload-files-storagerepository during this session. Because the repository is session-scoped, these names are isolated to this one visitor — no other user's uploads are visible here.- For each filename we call
file_readto load the file contents and turn them into an attachment object thatsendMailunderstands. sendMailsends the email through the default outbound email configuration.- We perform some cleanup:
file_disable_session_uploadrevokes the session's upload authorization. Any further POST to the upload URL will be rejected with HTTP 401.file_removeremoves the files from the repository. Note that files are automatically removed once the session expires (after 4 hours), but we do it here to make sure the repository is empty if the user decides to send another email during the same session.
- Finally,
$sentToand$fileCountare exposed for the thank-you template to display.
For simplicity, we've declared all settings at the top of the script. In the Calendarific example, we saw that it is best practice to put settings in a separate library. Once you have this example up and running, we encourage you to try adjusting the integration to follow this practice.
HTML service
The service ties everything together: it provides the URL that the form is served from, links the GET and POST templates to it, and is underpinned by the two packages that handle the form logic.
Go to the Services tab and create a service with:
- Name:
upload-files-form - Service type:
HTML - GET template:
upload-files-form - POST template:
upload-files-thank-you
Next, switch to the Packages tab and select the upload-files-GET package. Open the Settings tab,
make sure Enabled is checked and add the following trigger:
- Trigger type:
Service GET - Account:
upload-files-storage - Service:
upload-files-form
Finally, select the upload-files-POST package, check Enabled and add the following trigger:
- Trigger type:
Service POST - Account:
upload-files-storage - Service:
upload-files-form
Running it
Let's try it out. First press Save to save everything. Next, go to the upload-files-form service and select the
upload-files-storage account in the Account dropdown. From the list of URLs shown, copy the last one, open a new browser
tab and paste it into the address bar.
You should see the form page as shown at the beginning of this example. Fill it out, press Send and wait for the email to arrive in your inbox.