Responding to events
Now that we've seen how to create a package and manually start a test run, let's see how to configure the package to respond to external events. In the automator, we call these events "triggers".
Switch to the Settings tab of the package and press the Add trigger button.
A dialog will appear asking you to select a trigger type. The selectbox contains several options, such as "Webhook", "Schedule" and "Inbound email". Select "Webhook".
The next input field is "Account". However, we haven't created any accounts yet, so we are not able to select anything. We will fix that next.
Press Cancel to dismiss the dialog, and switch to the Accounts tab.
An account is a connection to or from a third-party service. The automator supports several different types of accounts, for example to connect to a MySQL database, Microsoft Graph, or Xurrent. It also supports plain HTTP endpoints, which can connect to any service that has an API exposed via HTTP, such as a REST or GraphQL API.
Press the + button in the sidebar to create a new account.
In this tutorial we only use free online services that can be used without any form of registration or authentication. We will use ReqBin to simulate an external service that sends messages to our automator package. In reality, messages would be received from a third-party service such as Xurrent or Freshservice. Refer to the worked examples section of the documentation for real-world integrations.
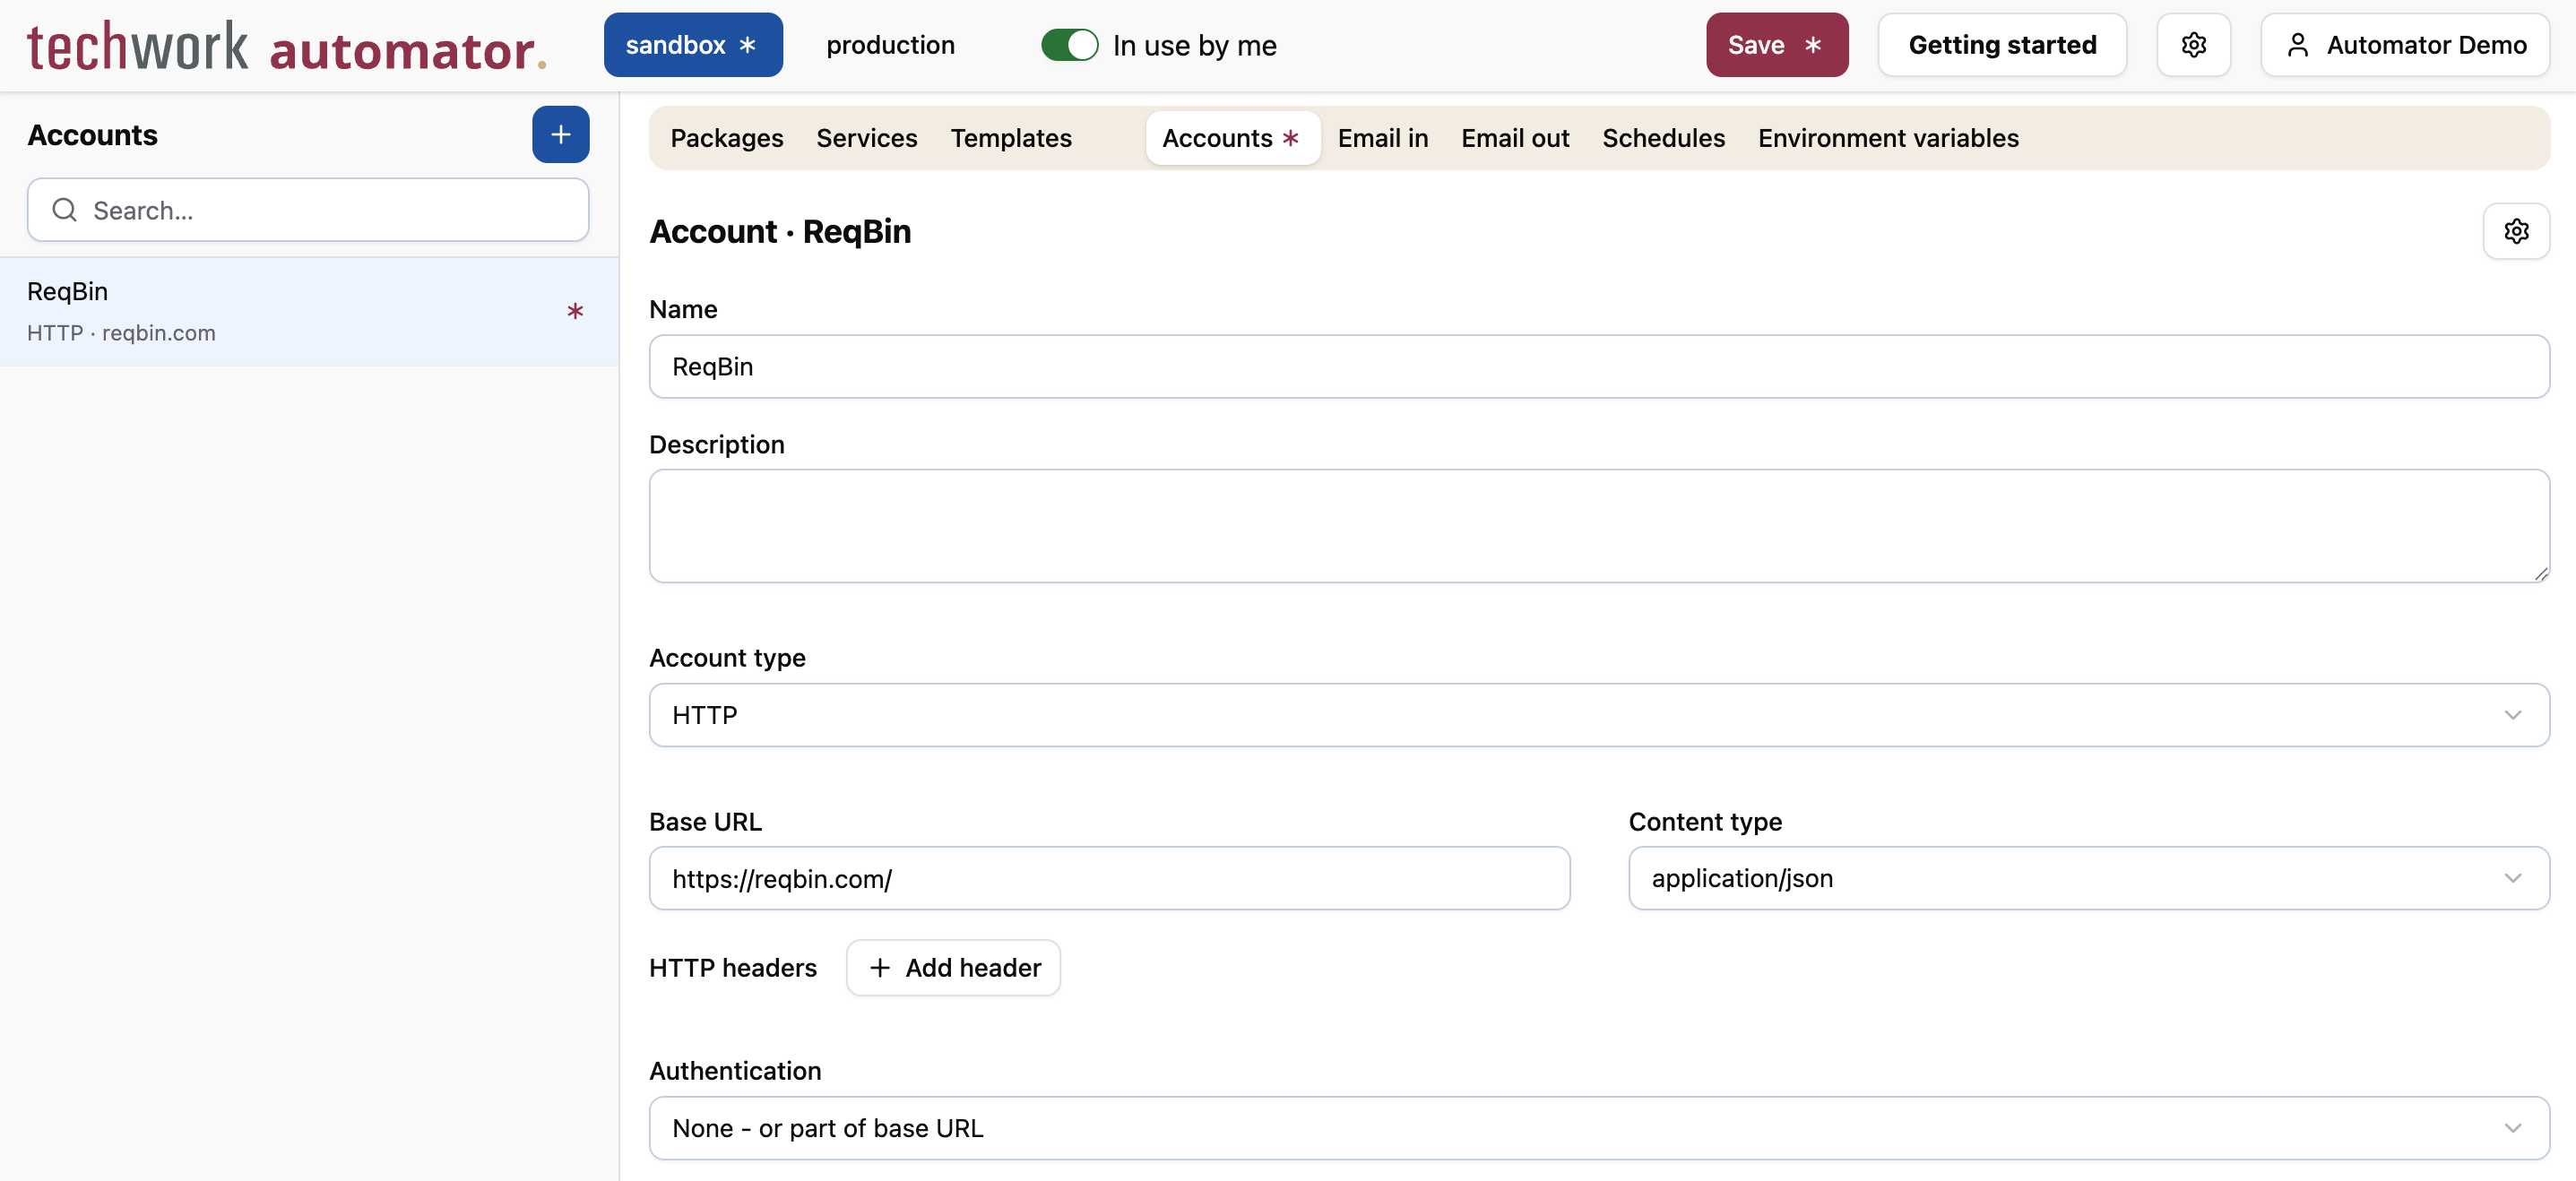
Enter the following values in the form:
- Name:
ReqBin - Account type:
HTTP - Base URL:
https://reqbin.com/ - Content type:
application/json - Authentication:
None - or part of base URL
Next, press the Create webhook URL button at the bottom of the page. This will generate a unique URL, secured via basic authentication, that the external service can use to send messages to our automator package.
Now that we've created an account, switch back to the Packages tab, and press the Add trigger button again.
Enter the following values in the dialog:
- Trigger type:
Webhook - Account:
ReqBin - Webhook event:
<ANY>
Press OK to add the trigger to the package.
Finally, make sure to check the "Enabled" checkbox at the top of the form and press "Save".
When you create a new package, it is not enabled by default. A disabled package will ignore any trigger events and never execute, other than by manually triggering it via the "Start test run" button. Since a package usually creates or modifies data in external systems, it would be dangerous to accidentally trigger the package while you're still developing it. As a safety mechanism, therefore, enabling a new package is an explicit action.
Let's try it out. Go back to the ReqBin account that you just created and copy the Webhook URL with token to the clipboard via the button next to the URL.
Now open another browser tab, go to https://reqbin.com/ and paste the URL into the big input field at the top of the page. There is a selectfield at the right of the field that says "GET". Change it to "POST". Finally, press Send.
Go back to the automator, bring up the log panel and press the Reload now button.
A new occurrence of the message Hello, world! should appear, with a timestamp close to the current time.
Congratulations! You've just triggered an automator package from an external service.