Serving a HTML page
In this tutorial, we will take a closer look at Services and Templates, which can work together to display HTML pages. By adding packages to the mix, we can serve a dynamic web form.
We will start with a simple static HTML page.
First, create a new template that contains the content of the page. Go to the Templates tab and click on the + button at the top of the sidebar.
Change the template name from new-template to hello-world, check the HTML box and type the following HTML
content into the HTML editor:
<h1>Hello, world!</h1>
Next, switch to the Services tab and create a service as follows:
- Name:
hello-world - Service type:
HTML - GET template:
hello-world
The GET template links the service to the template we just created. Notice that there is also a POST template field. When serving a form, this template will be used to display the result of the form submission. Later in this tutorial, we will get to use this. For now, leave it empty.
Press the Save button to save all changes.
Switch back to the Templates tab once again. It now looks like this:
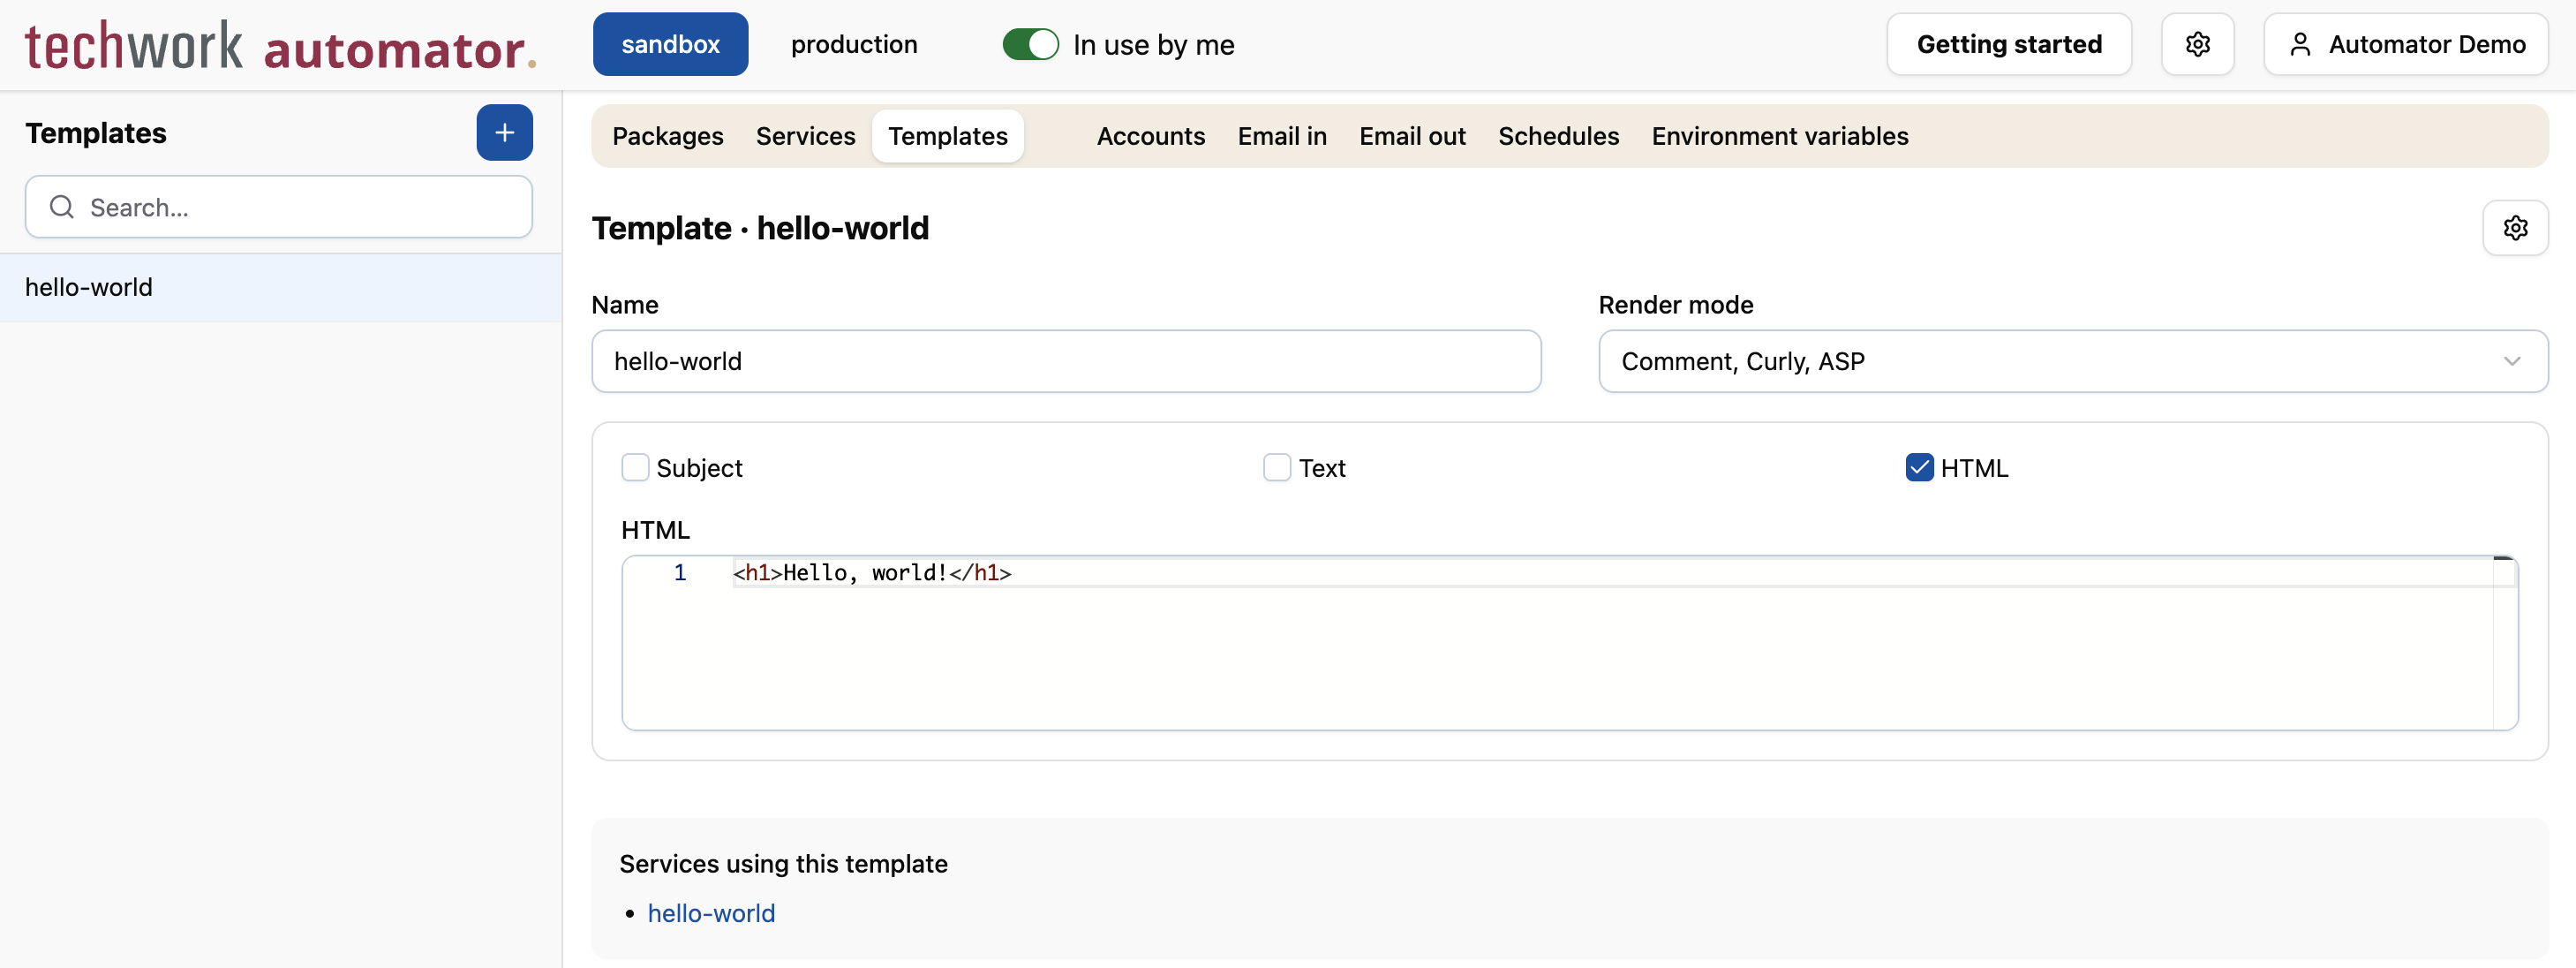
So far, so good. At the bottom of the page, we can see that the service is correctly linked to the template.
Click on the link to the service at the bottom of the page to navigate back to the hello-world service.
How can we see the HTML page in a web browser? For this, we need to know the URL of the service. The service form has a Service URLs section at the bottom for this purpose.
In the Account selectfield, select the DummyJSON account that we created in the previous tutorial. (If you skipped it, the details of the account can be found here.)
A bunch of URLs will be displayed. For our purposes, the last one is the most appropriate one. Copy it to your clipboard.
Open a new browser tab, paste the URL into the address bar and press Enter.
The result should be, that the text "Hello, world!" is displayed in large font in the browser.